Apple Pay is a convenient way to pay for items at contactless terminals without having to fish in your wallet for your credit card or even bring it with you. Meanwhile, Apple Cash is a simple method to use for sending and receiving money from either the Messages or Wallet app. It’s worth getting one or the other (or both) set up on one of the best iPhones or another Apple device like an iPad or Apple Watch. It can be a lifesaver if you forget your wallet at home or the office and gives you the opportunity to leave your wallet at home altogether when you go to the gym, a concert, or other events. Thanks to the secure and encrypted nature of the feature, including two-factor authentication, using Apple Pay is no different than using a physical card. Some might even argue that it’s safer.
How to set up and use Apple Pay on iPhone
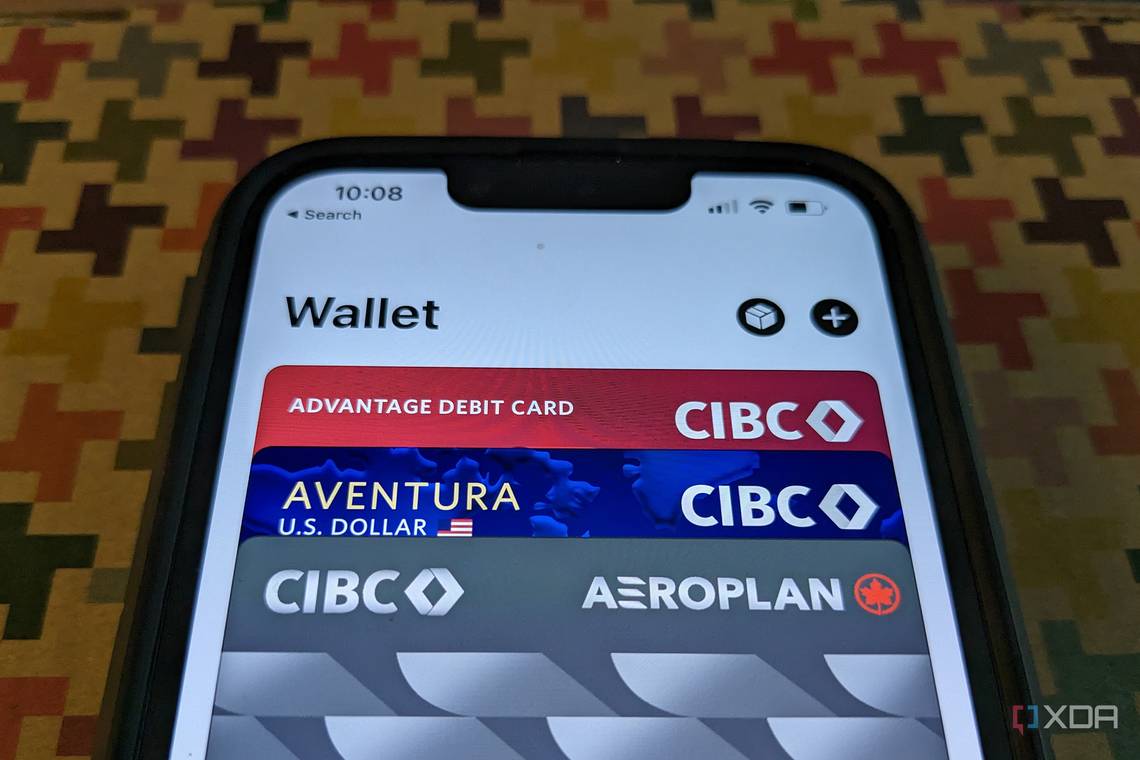
- Open the Wallet app on your iPhone (or other compatible devices.)
- Tap the “+” sign at the top, right corner to add a new card.
- You’ll see a list of Available Cards including Debit or Credit Cards, Transit Cards, and for those in the U.S., Driver’s License or State ID. Select Debit or Credit Card.
- You’ll see a notice confirming what you can do with Apple Pay. Select Continue.
- Position the back of the card with the card number and other pertinent details in the window that appears until it automatically scans. If you’re having trouble, you can select the option to Enter Card Details Manually.
- Once the card is successfully read, which should only take a second, you’ll see your name and the card number appear. Select Next.
- Under Card Details, the Expiration Date should be automatically populated. Enter the three-digit Security Code number and tap Next.
- The app will connect to the card issuer and then bring up the Terms and Conditions. Read through these then tap Agree at the bottom, right.
- You’ll see Adding Card. This could take several seconds to complete as the card loads into your Wallet.
- Next is Card Verification. Choose Text Message to send a text to the phone number on your account to verify the card and tap Next. (You can also choose to call your bank issuer to confirm or go back and complete the card verification process later, though the card is not available to use until you do.)
- You’ll instantly receive a code via text. In some cases, the phone will recognize the text and code and automatically add the card without further input. If not, simply go to your text messages and copy the code into the field.
- Decide if you want to use the card as your Default Card in Wallet or choose another card as default.
- Go through the demo on how to use Apple Pay. The first page notes to double-click the side button and authenticate your identity with Face ID to complete a purchase while holding the phone near a card reader. Tap Continue.
- If you own an Apple Watch, you’ll also be given the option to Add to Apple Watch as well so you can make payments directly from your wrist using the Apple Watch Wallet app. Select Add Now, or if you don’t want to do this, select Done at the top, right.
- You’ll now see that your credit or debit card is ready to be used for Apple Pay. Tap Done in the top, left corner to go back to your Wallet. You’ll see the card added there.
How to set up and use Apple Cash on iPhone
- Open the Settings app on your iPhone or other compatible devices.
- Scroll down to Wallet & Apple Pay and select it.
- Turn Apple Cash on by tapping the slider on the right.
- Under Payment Cards, select Apple Cash and tap Continue.
- Read through the Terms and Conditions and select Agree.
- You’ll see a notice that Apple Cash is Now Set Up. Tap Done.
Note that in order to use Apple Pay on iPhone, including the new iPhone 14, and other compatible devices, you need the latest version of iOS, iPadOS, watchOS, or macOS. You also need a supported credit or debit card from a participating card issuer. Naturally, you also need to be signed in to your Apple ID from the device you want to use.
Once you add a debit or credit card to Apple Pay within the Apple Wallet, you can enjoy secure payments in apps, websites, and in stores via tap-and-pay NFC with compatible devices. Look for the Wi-Fi and/or Apple Pay symbol at checkout. This makes it easy to pay for items not only from your phone but even right from your wrist with an Apple Watch by simply opening the app and holding the virtual card up to the reader, then authenticating via a double-click on the right side button (for an iPhone) and verifying your identity with Face ID. You don’t have to worry about fishing around in your backpack, purse, or briefcase for your wallet, and can even, as noted, leave your wallet at home.
Even when shopping online from the comfort of your home, Apple Pay makes it easy to complete a purchase without running to grab your card to find the expiry date and security code. The fact that Apple Pay masks your actual card information, making it a secure method of payment, too.
While Apple Pay is available in several countries, Apple Cash, it should be noted, is only available to U.S. residents who are 18 or older. There is an option for Apple Cash Family that allows parents in the U.S. to set up Apple Cash for a child under the age of 18. This can be useful for safety purposes, should the teen ever need to hail a ride home, for example, or to easily send money to a child who’s away on a trip or in college.
With Apple Cash, once someone sends you money, the funds are kept on the virtual Apple Cash card. You can then use these funds to pay for items via Apple Pay. You may periodically be prompted to verify your identity when using Apple Cash, an added security feature.
-
Apple iPhone 14
The iPhone 14 is the base model of the 2022 iPhone series, offering a balanced set of features for the average user.
-
Apple Watch Series 8
$351 $399 Save $48The Apple Watch Series 8 is the latest smartwatch from Apple. It's not a huge change from the Series 7, but it offers fresh features like crash detection, a new temperature sensor, and more.

